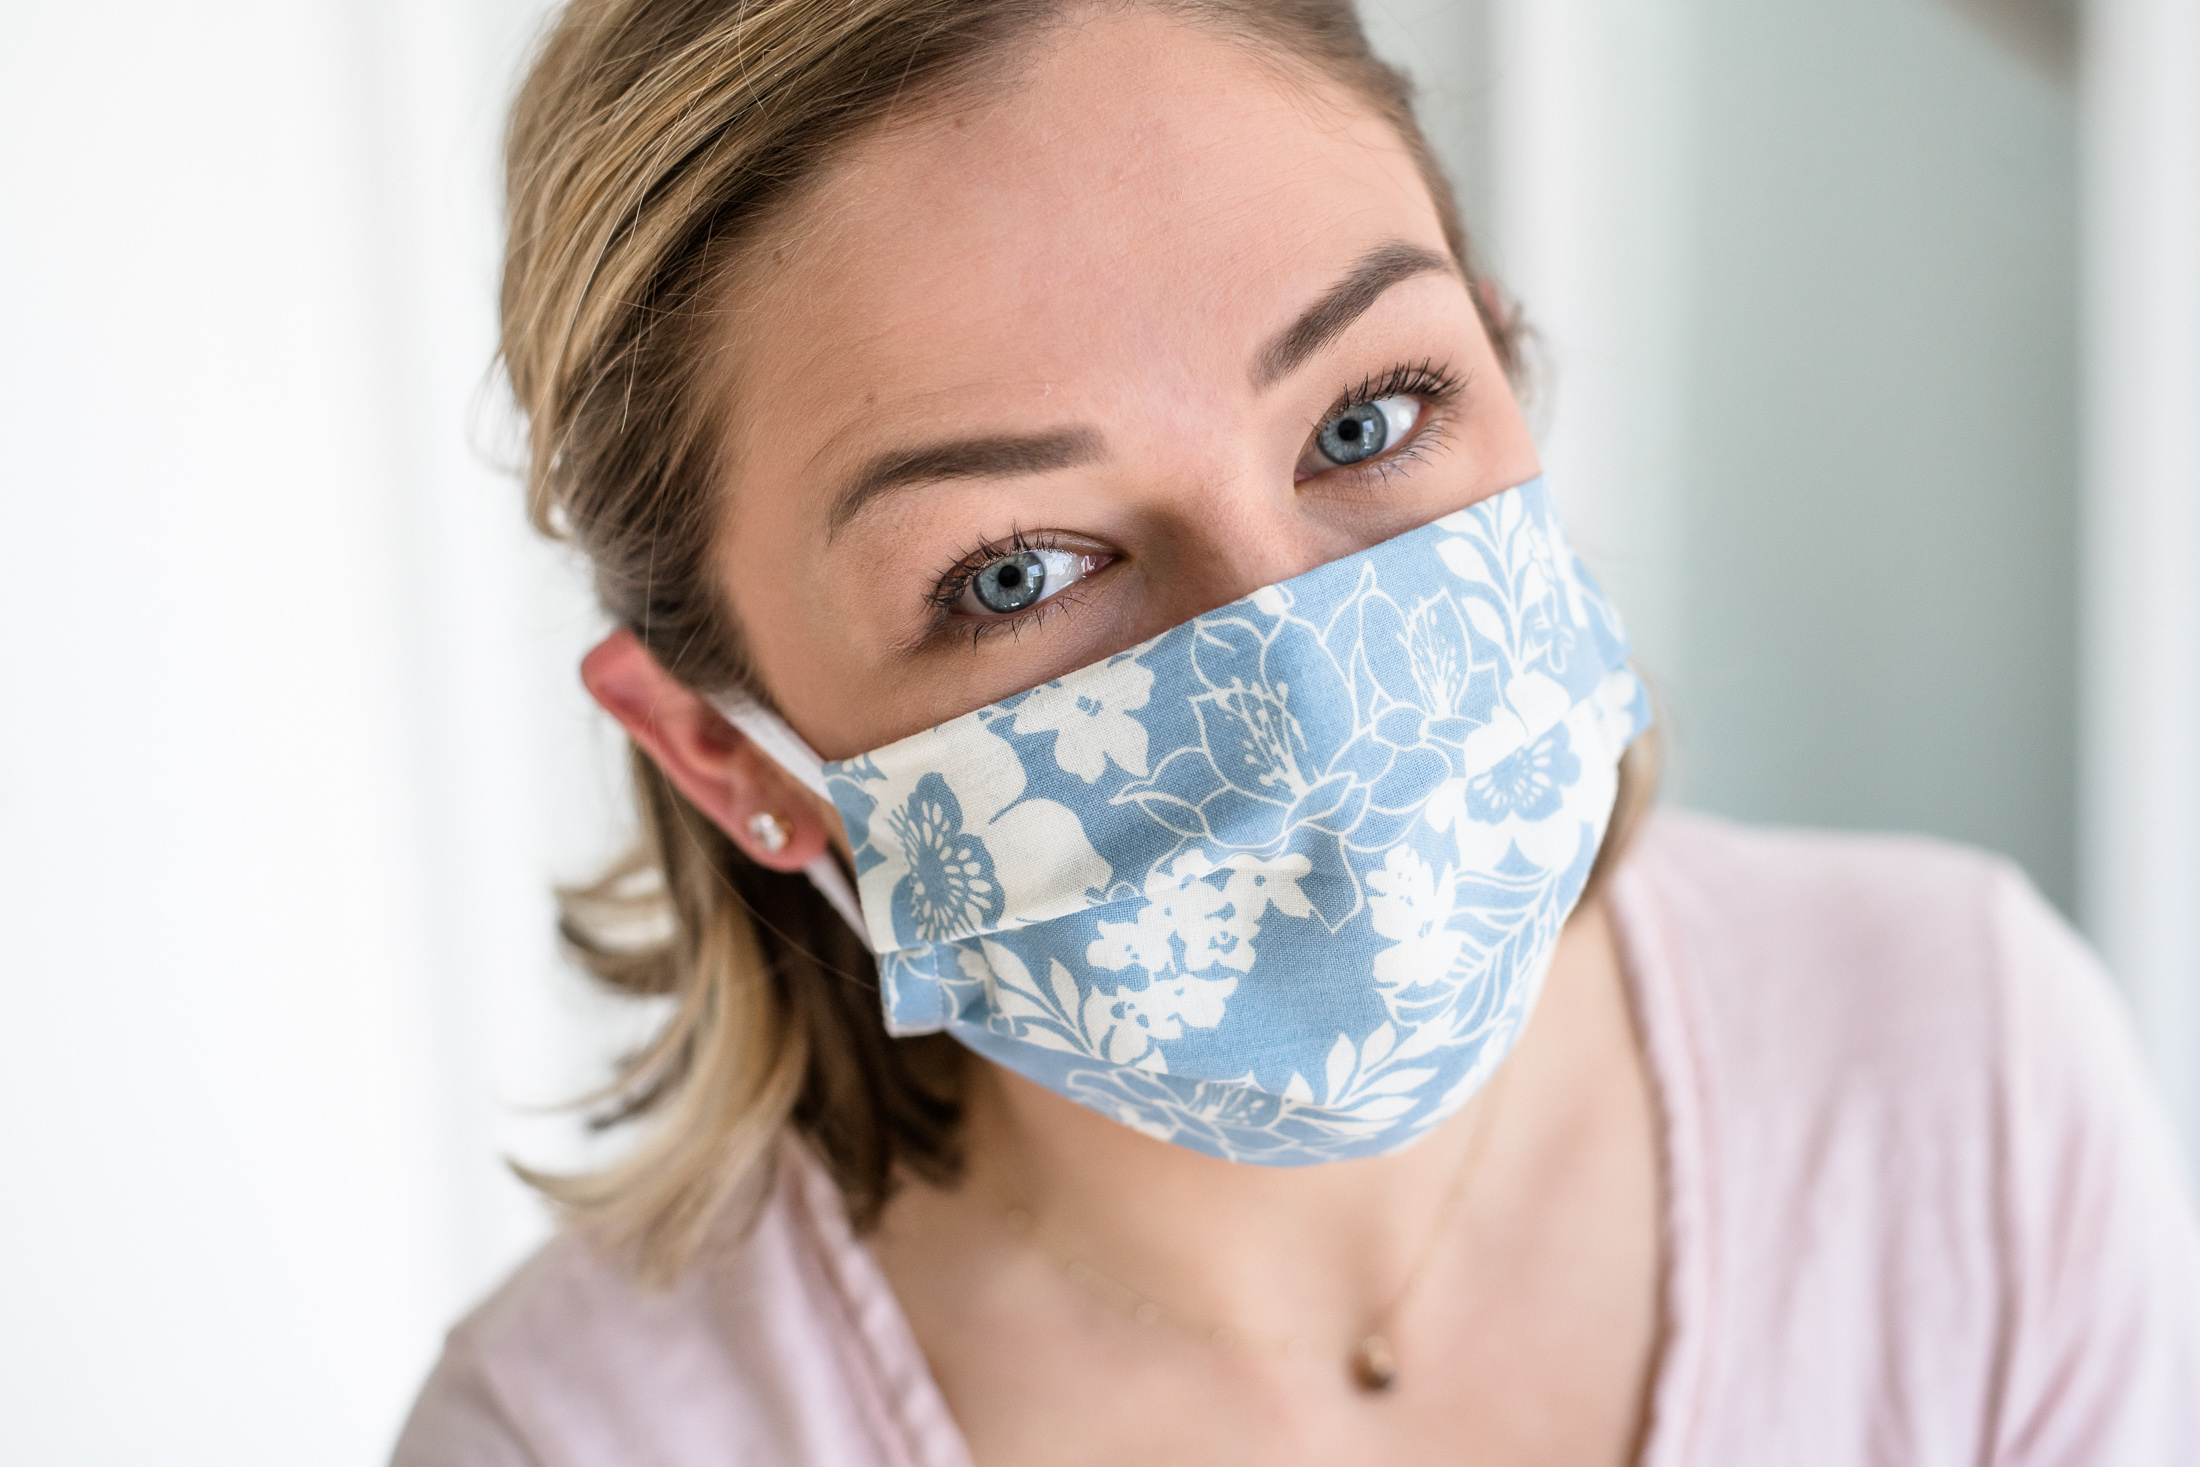


With stores finally starting to open and people able to get out of their houses, masks are in high demand. Some stores are requiring them for entry and others are strongly urging customers to wear some sort of face covering.
Making your own face mask is a great way to get exactly what you want.
My face mask pattern is really easy and instead of elastic, I make me own straps that won’t pinch your skin and are soft on your face.

Don’t have time to make your own mask?
You can buy one from my Etsy shop!
👉👉 buy one here 👈👈


MATERIALS NEEDED:
EQUIPEMENT NEEDED:
+ Ruler
+ Scissors and/or rotary cutter

1. Cut a piece of cotton fabric that is 15″ x 8″* and a piece of soft stretchy fabric that is at least 11″. I like to make mine a little longer so that I can trim them down after I stitch them. This size is also extra long so that you can tie knots to fit your face more snuggly, the end size should be around 10-11 inches each. If you would like to have them be the exact size they should be around 5-6 inches.
*This is for adult sized masks. If you are making one for a child I would suggest making the dimensions 14″x7″.

2. Iron both side of the strap pieces inward.

3. Fold the straps inward again and iron.

4. Using and zig-zag stitch, sew the straps shut. They should end up around 10-11 inches each. The zig-zag stitch is needed so that the straps will stay stretchy.

5. Iron and straight stitch both of the 8 inch sides of your mask fabric.

6. Iron both sides of your mask fabric inward. I usually iron the first piece about 2.75 inches inward. It makes the the filter pocket easier to access later.


7. Use the ironed corners as your guide and place the straps into each corner.

8. When the straps are in place stitch along the sides to close them. Make sure to back stitch over each of the straps to secure them.

9. Flip the mask right side out and Iron flat.


10. Use either clips or pins to make three folds. You can measure these out to be even or just eyeball it like I usually do. I have also found that pins are easier than clips to work with, after I took these pictures of course.

11. Stitch along the sides to secure the folds.

12. When this is done iron the mask.

13. Tie knots in the straps and try it on!
Good job!
If you made a mask I would love to see it! Post a picture in the comments or tag me in your social media post! #thetashlife
Thanks for checking out this post!
🖤 Natasha
Don’t have sewing machine or time to make a mask?
You can buy one from my Etsy shop! 👉👉 buy one here 👈👈


