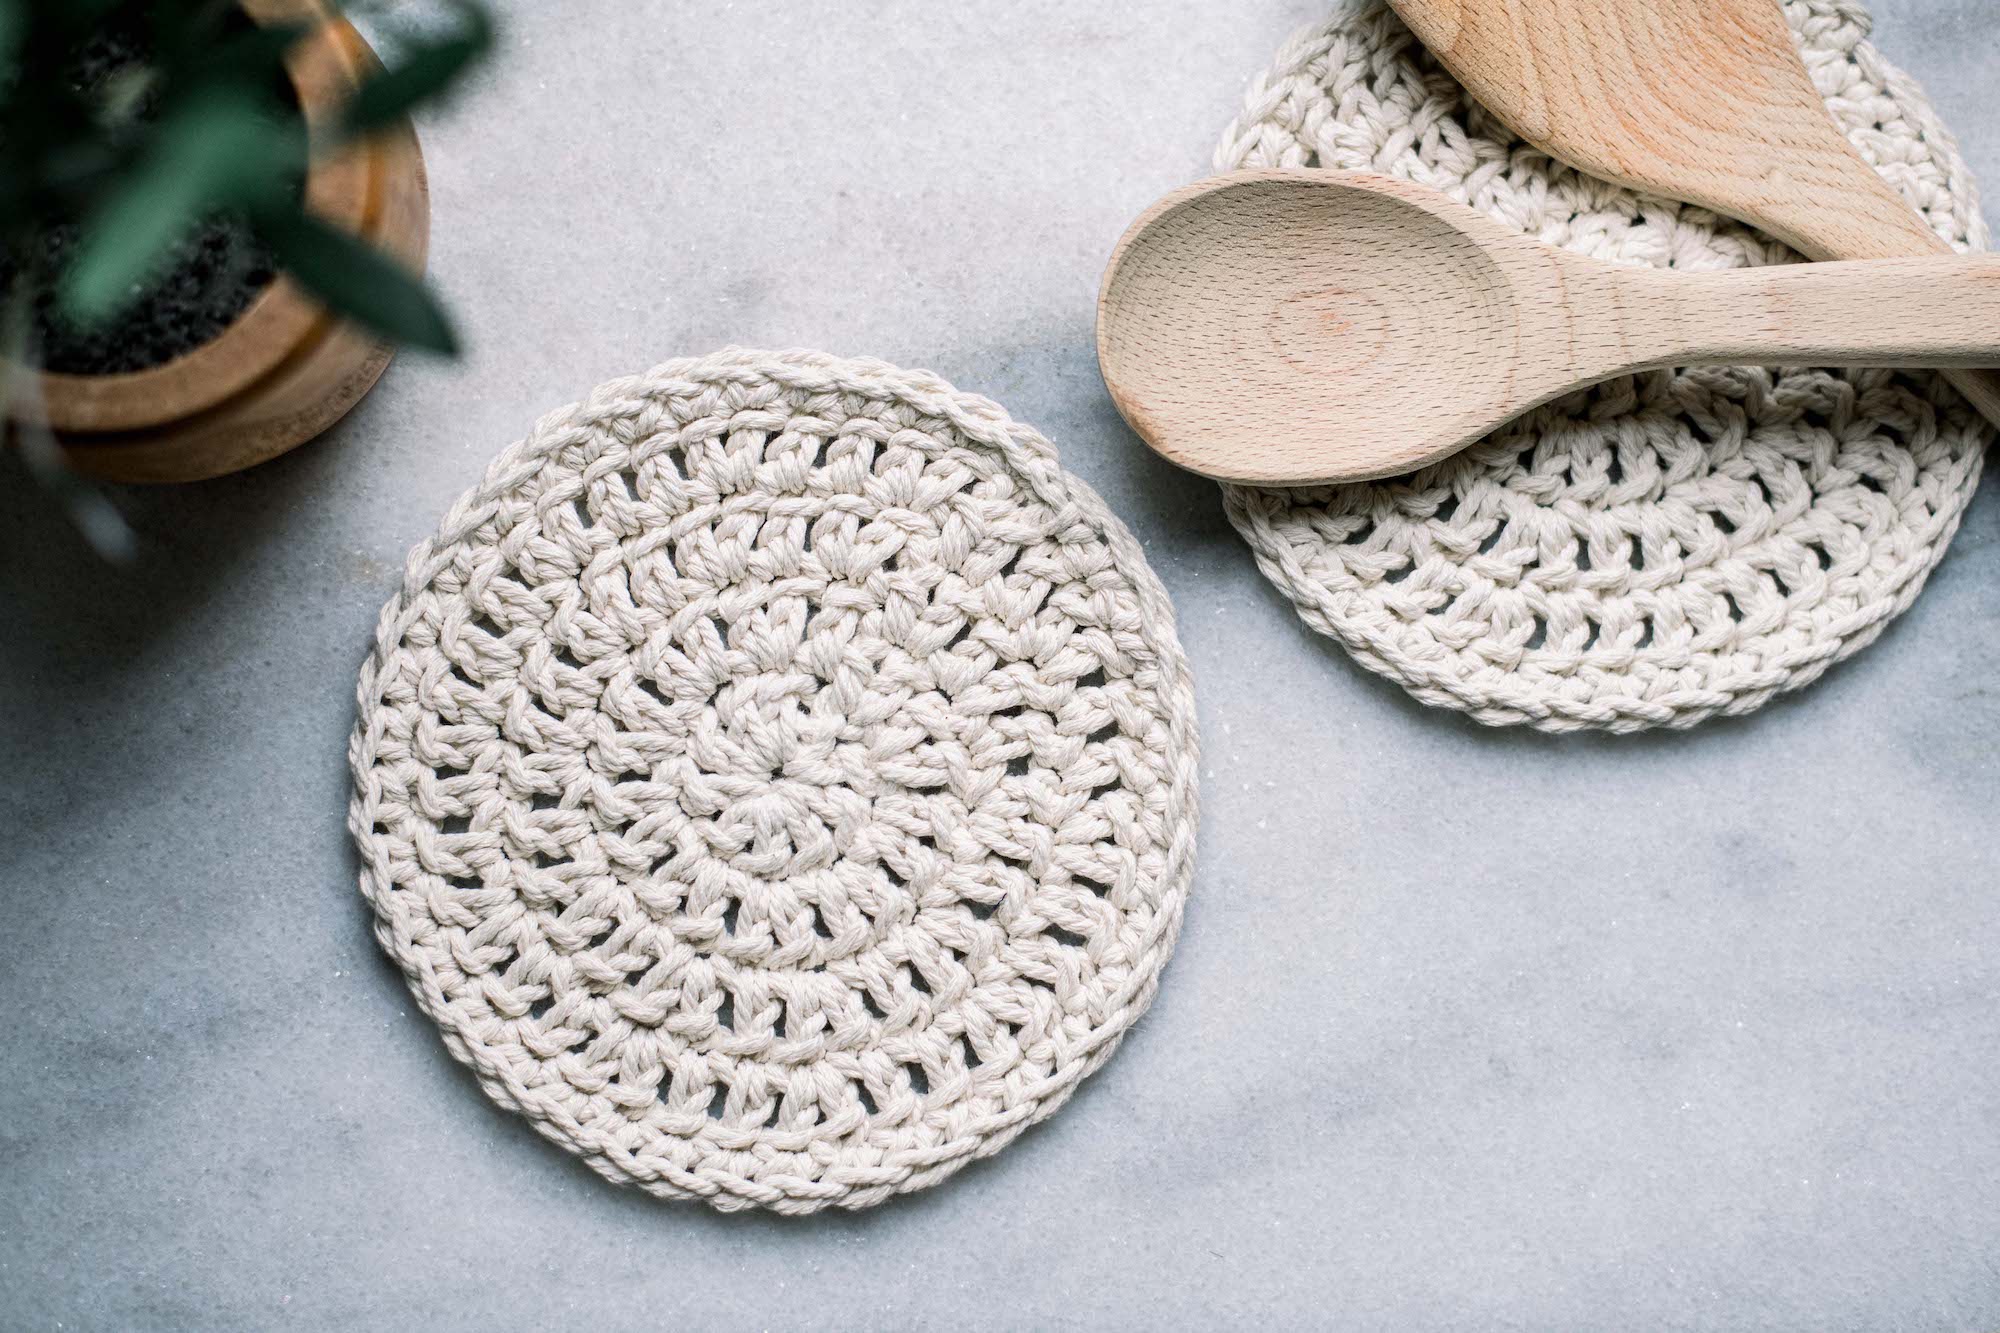

Make your own kitchen hot pads!
These are really easy and fast, and make a great addition to any kitchen! I used macrame cord for mine, but you can use any other yarn or string. I just loved the look and sturdiness of the macrame cord, but it is a little harder to crochet with because it has very little stretch to it. Its definitely worth the extra trouble though, especially since the whole project only has 5 rounds.
I made a YouTube video for those of you who are visual learners like me. I also made a step by step tutorial that you can print out! I hope you love your new hot pads as much as me!
If you do end up trying this out, I would absolutely love to hear what you think. Comment on this post and tag me on your social media! #thetashlifecrafts
XOXO,
Natasha


DIY Crochet Pot Holder
Materials
- 3 mm macrame cord
- 9 mm crochet hook
Instructions
- Make a magic ring and chain 2.
- Double crochet 10 stitches into the magic ring.
- Pull the magic ring tail tight to close the ring.
- End the 1st round with a slip stitch into the first stitch.
- 2nd round: Chain 2. Double crochet twice into every stitch, you should be ending the round with a total of 20 stitches. Slip stitch to end the 2nd round.
- 3rd round: Chain 2. Double crochet once into the 1st stitch and then twice into the 2nd stitch. Repeat 9 times. End the round with a slip stitch, you should have 30 stitches.
- 4th round: Chain 2. Double crochet once into the 1st two stitched and twince onto the third stitch. Repeat 9 times. End the round with a slip stitch, you should have 40 stitches.
- 5th round: Single crochet into every stitch, slip stitch to end the round.
- Fasten off and then weave the tail through.
- Weave the tail of the magic ring into the surrounding stitches
- DONE!
Recommended Products
As an Amazon Associate and member of other affiliate programs, I earn from qualifying purchases.


